Uploading website files to cPanel is a fundamental task for managing your website.
Table of Contents
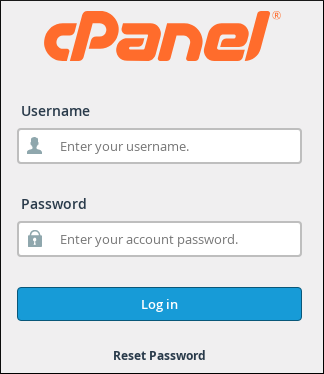
Step 1: Log in to cPanel
- Open your web browser.
- Enter your cPanel URL in the address bar. It typically looks like
https://yourdomain.com/cpanelorhttps://yourdomain.com:2083. - Enter your cPanel username and password.
- Click on the “Log in” or “Login” button to access your cPanel dashboard.
Step 2: Access the File Manager
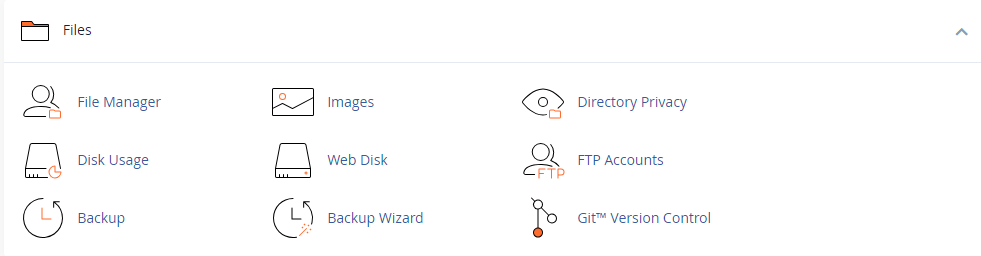
- Once logged in, navigate to the “Files” section of your cPanel dashboard.
- Click on the “File Manager” icon. This will open the File Manager interface in a new browser tab or window.
Step 3: Navigate to the directory
- In the File Manager window, you will be prompted to choose the directory you want to open. By default, it usually opens the “Home Directory”.
- If your website should be in the root folder (public_html), select that option. Otherwise, navigate to the directory where you want to upload the files (e.g., public_html if it’s your main website folder).
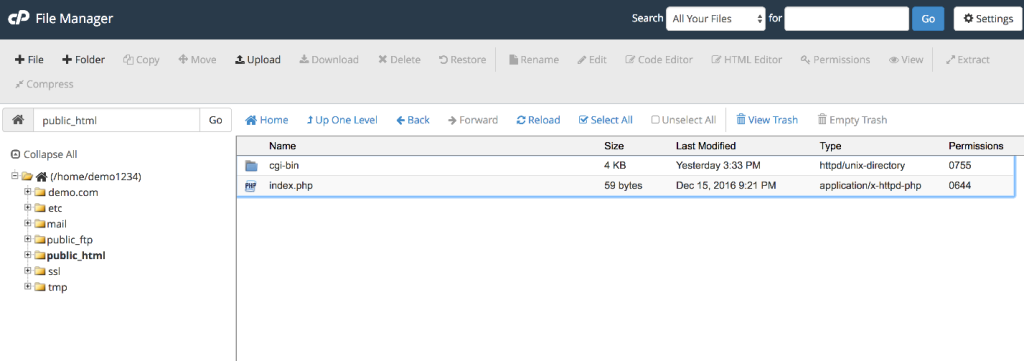
Step 4: Upload files
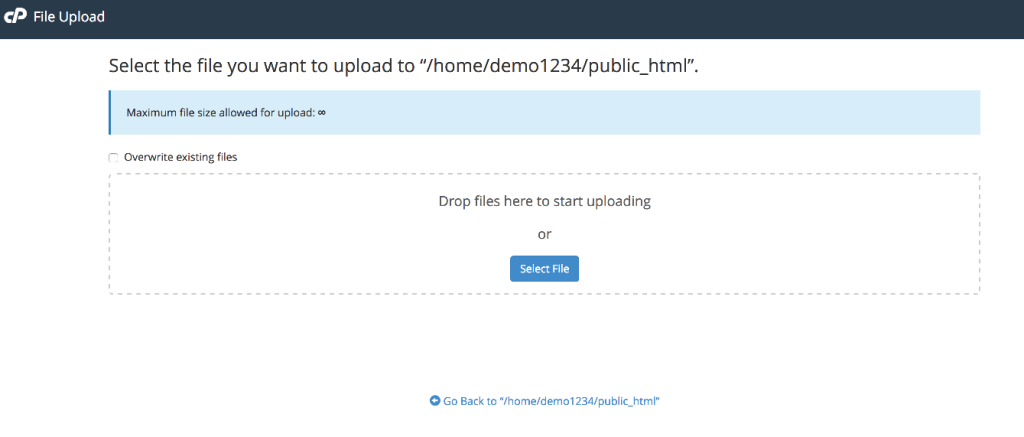
- In the File Manager interface, locate and click on the “Upload” button in the top toolbar. This opens the “File Upload” dialog.
- Click on the “Select File” or “Choose File” button in the dialog box.
- Navigate to the location on your computer where your website files are stored.
- Select the files and folders you want to upload. You can select multiple files by holding down the Ctrl key (Cmd key on Mac) while clicking on each file.
- Click the “Open” button in the file selection dialog to start uploading the selected files to the server.
- The progress of the upload will be displayed. Wait for the upload to complete. The time taken will depend on the file sizes and your internet connection speed.
Step 5: Verify upload
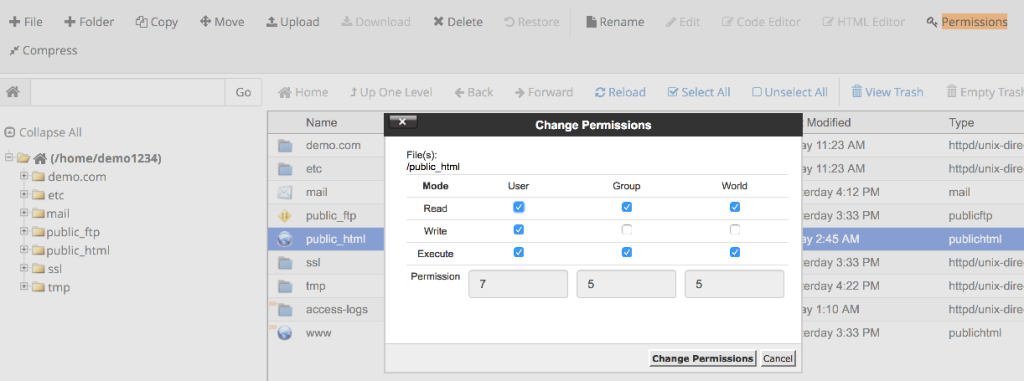
- Once the upload is complete, you should see your files listed in the File Manager window under the directory you selected.
- If needed, you can set permissions for files or directories by right-clicking on them and selecting “Change Permissions” or “Permissions”.
Step 6: Check your website
- After uploading your website files, you can check your website by entering your domain name in a web browser.
- Ensure everything is working correctly and that your website displays as expected.
Additional Tips:
- File Permissions: If you have scripts or directories that require specific permissions (e.g., writable permissions for uploads), adjust permissions accordingly in the File Manager.
- File Backup: Consider regularly backing up your website files to prevent data loss in case of any issues.
By following these steps, you can successfully upload your website files using cPanel’s File Manager, making your website accessible to visitors on the internet.
Author
chhaya@webhostingmumbai.net.in
Related Posts
How to Edit and Update DNS Records in cPanel
What is DNS ? DNS stands for Domain Name System, and it is often referred to as the “phonebook of the internet.”...
Read out all
Comprehensive Guide to Backing Up Data in DirectAdmin
Backups can typically be taken in shared hosting environments, including using the DirectAdmin control panel. Taking a backup in the DirectAdmin control...
Read out all
Best Hosting Options for JavaScript Applications
The best hosting for a JavaScript application depends on the type of application (e.g., static site, server-side rendered, single-page application) and your...
Read out all
The Importance of Name Servers in Website Functionality
Importance of name server A name server is a critical component in the Domain Name System (DNS) infrastructure that helps make websites...
Read out all
Understanding Red Hat Linux VPS: Features, Benefits, and Use Cases
Red Hat Linux VPS A Red Hat Linux VPS (Virtual Private Server) is a virtualized server environment that runs Red Hat Enterprise...
Read out all
Comprehensive Guide to Backing Up Your Email Inbox
Methods of email backup Email Inbox can be useful for security, archiving, and accessing important messages offline. Here’s how you can back...
Read out all