
Table of Contents
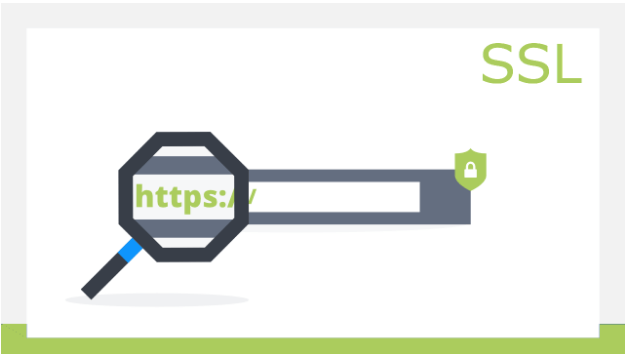
Enabling free SSL in cPanel can be done through AutoSSL, which is a feature provided by cPanel that automatically installs and renews SSL certificates for your domains. Here’s how to enable and configure it:
1. Login to cPanel:
- Go to your cPanel login page (usually something like
yourdomain.com/cpanel). - Enter your cPanel username and password.

2. Navigate to SSL/TLS Status:
- In the cPanel dashboard, look for the Security section.
- Click on SSL/TLS Status.
3. Enable AutoSSL:
- Once you’re in the SSL/TLS Status interface, you’ll see a list of all your domains and subdomains.
- Select the domains you want to enable SSL for.
- Click on the Run AutoSSL button at the top of the page.
4. Check AutoSSL Configuration:
- To ensure AutoSSL is configured correctly:
- Go to WHM (Web Host Manager) if you have root access.
- Navigate to Home > SSL/TLS > Manage AutoSSL.
- Choose the provider (typically “cPanel (powered by Sectigo)”).
- Click on Save if any changes are made.
5. Check Free SSL Installation:
- Return to the SSL/TLS Status page in cPanel.
- Ensure that the padlock icon appears next to your domains, indicating the SSL is active.
- You can also check by visiting your website using
https://in the browser to see if the SSL is functioning correctly.
6. Renewal and Expiry:
- AutoSSL will automatically renew your certificates before they expire. You don’t need to do anything manually for renewal.
7. Troubleshooting:
- If you encounter any issues, ensure that the domain is pointing to the correct server and that no existing SSL certificates are conflicting.
- Check for any email notifications from your hosting provider for additional instructions or issues.
If your cPanel web hosting plan is managed by a hosting provider, ensure that they support free SSL certificates like Let’s Encrypt or AutoSSL. Some providers might disable this feature or require a different setup.
Author
admin@webhostingmumbai.net.in
Related Posts
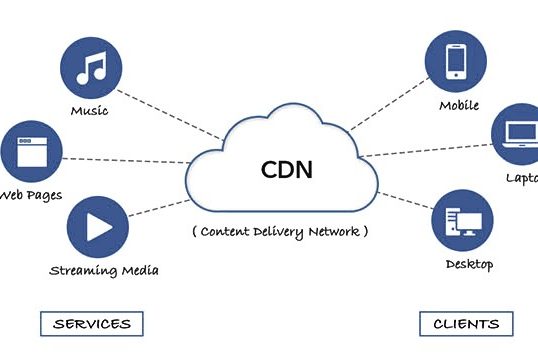
What is a content delivery network (CDN)? | How do CDNs work?
A Content Delivery Network (CDN) is a system of distributed servers strategically placed across different geographic locations to deliver content, such as...
Read out all
Creating and Managing Hosting Packages in WHM
How to Create and Manage Packages in WHM Control Panel Web Host Manager (WHM) is a powerful tool used by web hosting...
Read out all
Fedora OS for Web Servers: A Cutting-Edge Platform for Modern Web Hosting
Fedora OS Fedora OS is a popular, open-source Linux distribution known for its cutting-edge features and frequent updates. While Fedora is often...
Read out all
MongoDB in Web Hosting: Scalability, Flexibility, and Performance
What is MongoDB ? MongoDB is a NoSQL, document-oriented database used in web hosting for managing and storing large amounts of unstructured...
Read out all
Understanding IP Block Causes and Effective Resolutions
An IP block is a network security measure that prevents specific IP Block addresses from accessing a network or service. It is...
Read out all
The role of Backup Restoration in cpanel
Backup restoration in cPanel plays a crucial role in maintaining the stability and integrity of a website. Here’s how it functions and...
Read out all