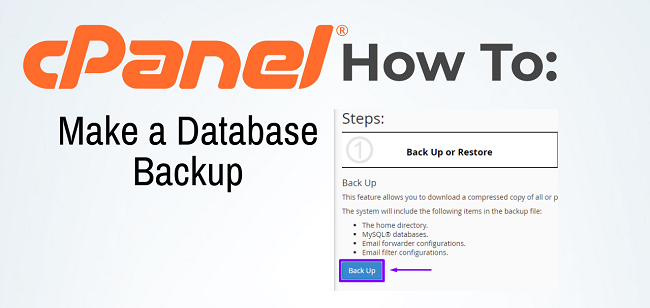
Taking a Database Backup in cPanel is an important step to ensure that you can restore your website or data in case of an issue. Here’s a step-by-step guide to back up your database using cPanel
Table of Contents
Steps to Take Database Backup
To take a database backup in cPanel hosting, follow these steps:
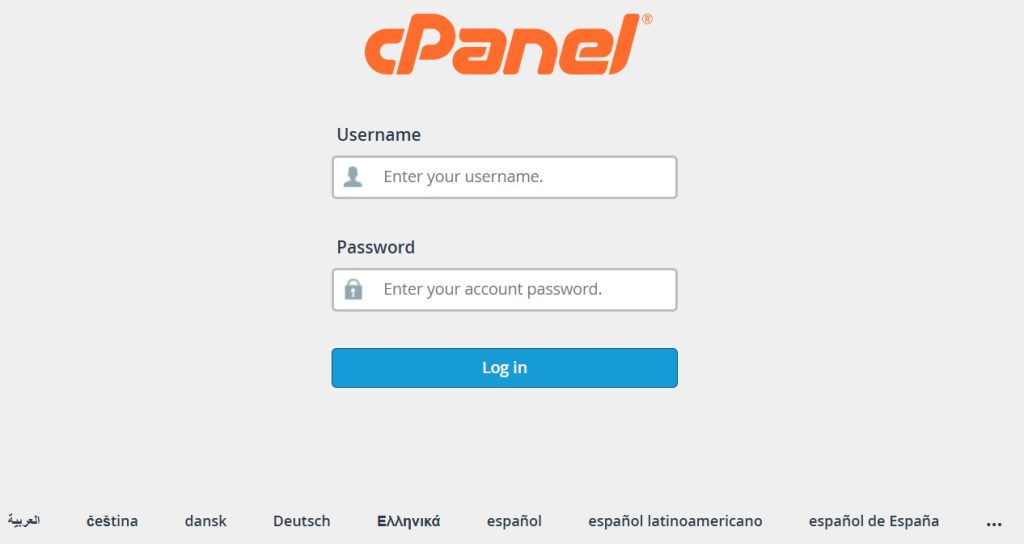
1. Log into cPanel
- Go to your domain’s cPanel login page (usually
yourdomain.com/cpanel) and enter your credentials.
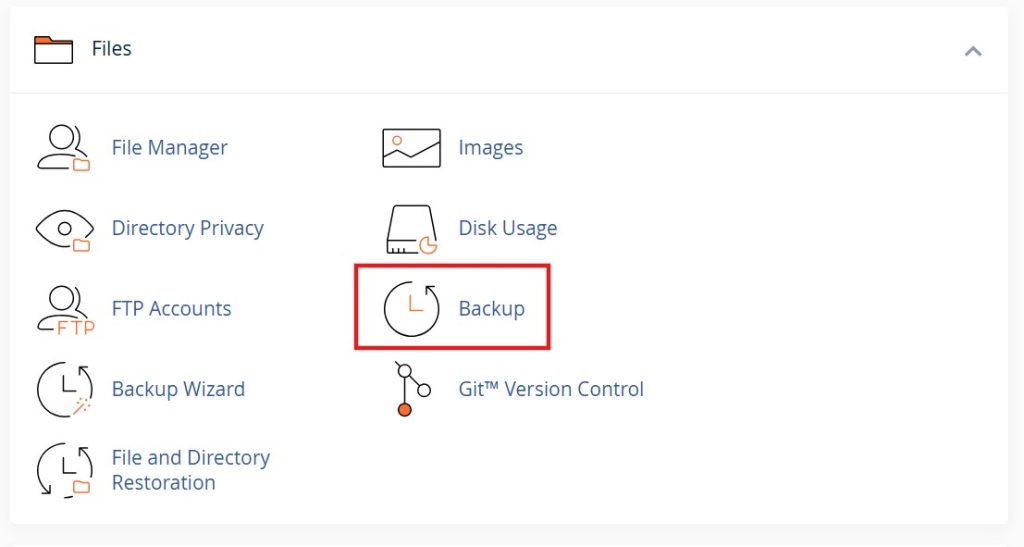
2. Access the “Backup” Tool
- Scroll down to the “Files” section and click on “Backup”.
3. Download a MySQL Database Backup
- In the “Download a MySQL Database Backup” section, you will see a list of your databases.
- Click on the database name that you want to back up. This will download a
.sqlfile (or.gzfile if compressed) to your computer.

4. Alternatively, Use “phpMyAdmin” for Database Backup
- Scroll down to the “Databases” section and click on “phpMyAdmin”.
- In phpMyAdmin, select the database you want to back up from the left sidebar.
- Click on the “Export” tab.
- Export Method: Choose either:
- Quick – Exports all tables in a simple format.
- Custom – Allows you to select specific tables and additional export options (for advanced users).
- Export Method: Choose either:
- Choose the “Format” as SQL.
- Click “Go”, and the backup will be downloaded.
That’s it! You now have a backup of your database.
Conclusion
Taking a database backup in cPanel is straightforward. You can use either the Backup tool for a quick download or phpMyAdmin for more customization. Both methods allow you to securely save your database as an .sql file, ensuring that your data is safely backed up for future use.
Author
admin@webhostingmumbai.net.in
Related Posts
How to Edit and Update DNS Records in cPanel
What is DNS ? DNS stands for Domain Name System, and it is often referred to as the “phonebook of the internet.”...
Read out all
Comprehensive Guide to Backing Up Data in DirectAdmin
Backups can typically be taken in shared hosting environments, including using the DirectAdmin control panel. Taking a backup in the DirectAdmin control...
Read out all
Best Hosting Options for JavaScript Applications
The best hosting for a JavaScript application depends on the type of application (e.g., static site, server-side rendered, single-page application) and your...
Read out all
The Importance of Name Servers in Website Functionality
Importance of name server A name server is a critical component in the Domain Name System (DNS) infrastructure that helps make websites...
Read out all
Understanding Red Hat Linux VPS: Features, Benefits, and Use Cases
Red Hat Linux VPS A Red Hat Linux VPS (Virtual Private Server) is a virtualized server environment that runs Red Hat Enterprise...
Read out all
Comprehensive Guide to Backing Up Your Email Inbox
Methods of email backup Email Inbox can be useful for security, archiving, and accessing important messages offline. Here’s how you can back...
Read out all